
If you’re looking to revamp your living space and add some character to your ceilings, plaster coving is a great option. Not only does it add a unique touch to any room, but it also has functional benefits such as hiding any wiring or unevenness in the ceiling.
In this ultimate guide to plaster coving installation, we’ll cover all the steps and tips you need to know to become a pro at plaster coving installation.
Step 1: Measure The Area
Before you begin installation, you’ll need to measure the area where you plan to install plaster coving. Measure the length of each wall and note any corners or angles that you’ll need to cut the coving. It’s recommended to measure twice to ensure accuracy.
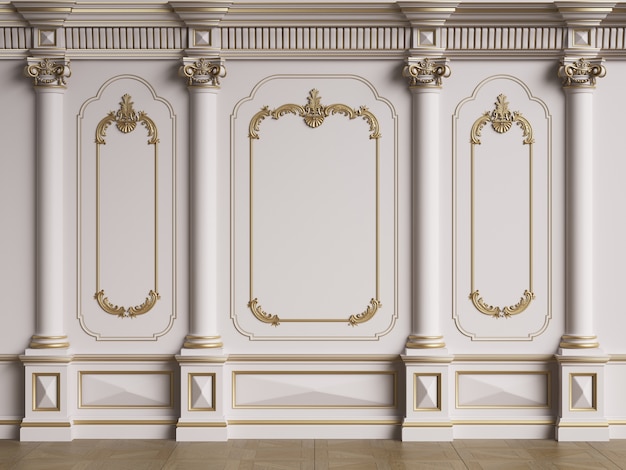
Step 2: Choose Your Plaster Coving
Now that you have your measurements, it’s time to choose the right plaster coving for your space. There are many styles and sizes to choose from, so consider the overall design of the room and choose a coving that will complement it.
Step 3: Gather Your Supplies
To successfully install plaster coving, you’ll need a few supplies. These include:
– plaster coving
– plaster adhesive
– measuring tape
– miter box
– hand saw
– sandpaper
– paint
Step 4: Prep Your Area
It’s important to properly prep your area before beginning installation. Remove any furniture from the room and cover the floor and nearby walls with plastic sheeting to protect them from plaster dust and adhesive.
Step 5: Install Your First Piece

Begin by applying plaster adhesive to the back of your first piece of coving. Align the piece with the ceiling and gently press it into place. Ensure that it’s straight and snug against the wall.
Step 6: Cut And Install The Next Piece
Continue the installation process by cutting the next piece of coving to the correct length and angle using a miter box and saw. Apply adhesive to the back and press it into place, ensuring it overlaps with the first piece.
Step 7: Repeat The Process

Repeating the above steps, work your way around the room, cutting and installing each piece of plaster coving one by one. Be sure to use sandpaper to smooth any rough edges and ensure a perfect fit.
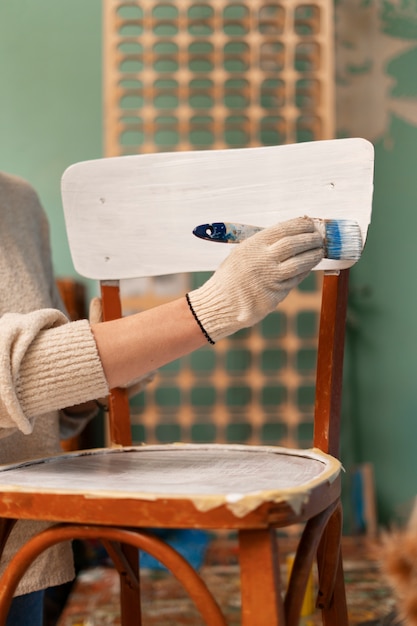
Step 8: Finish With Paint

Once your plaster coving is installed, it’s time to finish it with paint. Choose a paint that complements the room’s decor and carefully apply it to the coving. Be sure to paint the corners and edges for a polished look.
Congratulations, you’ve just transformed your ceilings with plaster coving! with a bit of skill and patience, you can turn any room into a stunning work of art with plaster coving installation.
Mastering The Art Of Installing Plaster Coving
Plaster coving installation is truly an art form. With its unique curves and angles, it takes skill and patience to install plaster coving that looks perfect. However, with the right tools, techniques, and practice, anyone can become a pro at plaster coving installation.
Here are some tips and techniques to help you master the art of installing plaster coving.
Tip 1: Get The Right Tools
Before you begin your plaster coving installation, make sure you have all the necessary tools on hand. Some essential tools include a hand saw, miter box, measuring tape, and sandpaper.
Tip 2: Measure Twice
When measuring your walls for plaster coving installation, always measure twice to ensure accuracy. Mistakes can be costly and time-consuming to fix, so take the extra time to get it right the first time.
Tip 3: Practice Cutting
Cutting plaster coving requires precision and skill. Before you start cutting actual coving, practice on some scrap pieces to get a feel for the saw and miter box.
Tip 4: Use A Steady Hand
When cutting plaster coving, it’s important to use a steady hand to ensure straight lines and precise cuts. Take your time and don’t rush the process.
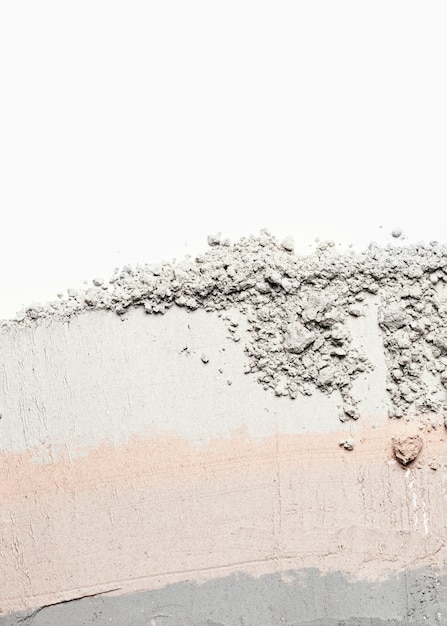
Tip 5: Sand Smooth
After cutting your plaster coving, use sandpaper to smooth any rough edges. This will ensure a seamless and polished finish once installed.
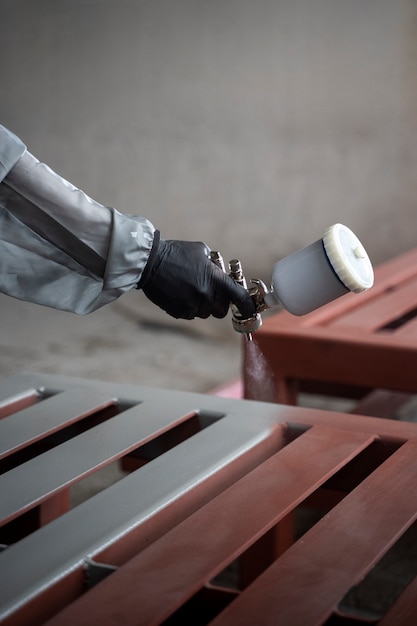
Tip 6: Take Care With Adhesive
Plaster adhesive can be messy, so take care when applying it to the back of your coving. Only apply a small amount to avoid excess and drips.
Tip 7: Press Firmly
When pressing your plaster coving onto the ceiling, make sure to apply firm pressure to ensure it’s snug against the wall and in the correct position.
Tip 8: Finish With Paint
Once your plaster coving is installed, finish it with a coat of paint. This will give it a polished and seamless look that will complement the rest of the room.
By following these tips and techniques, you can master the art of installing plaster coving and transform any room into a work of art.


