
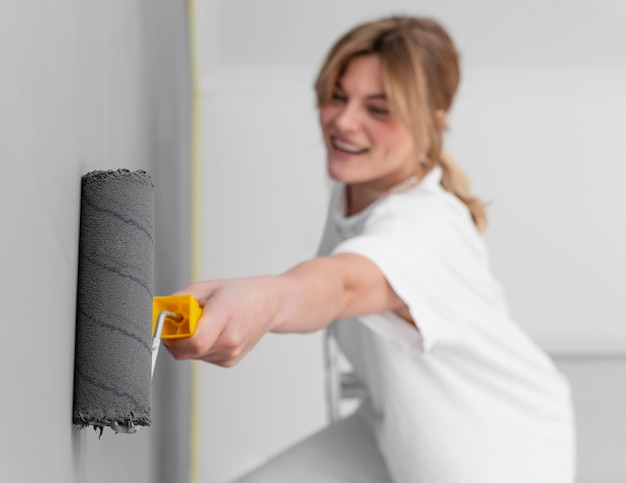
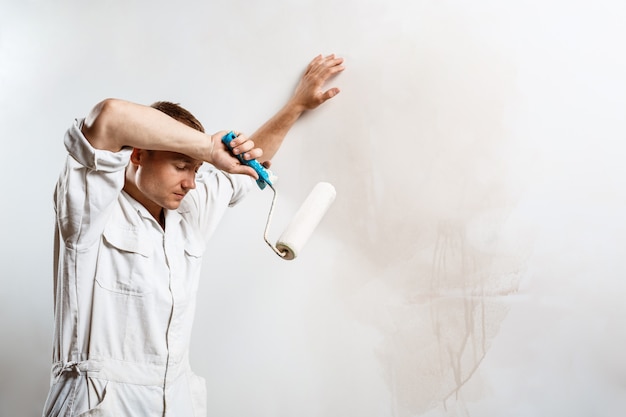
If you’re planning to install drywall or plasterboard, then you’re going to need to use the dot n dab method. This technique involves applying adhesive to the back of the board, rather than directly to the wall, to secure it in place. The adhesive is applied in small dots and dabs, allowing for a secure, even bond.
In this comprehensive guide, we’ll cover everything you need to know about applying adhesive for dot n dab plasterboarding. From the tools you’ll need to the best practices for maximizing efficacy, we’ve got you covered.
Tools You’Ll Need:

Before we dive into the specifics of applying adhesive, let’s start with the tools you’ll need. You’ll need:
– adhesive (we recommend a water-based adhesive)
– a caulking gun
– a trowel or scraper
– a spirit level
– a pencil or marker
– a bucket of water and a sponge
Step 1: Prepare The Wall

Before you start applying adhesive, you need to prepare the wall. This involves removing any loose debris, cleaning the surface, and ensuring that it’s level and smooth. Use a spirit level to check for any bumps, dips or unevenness, and mark any problem areas with a pencil or marker.
Step 2: Load The Adhesive Into The Caulking Gun
Once the wall is prepped, it’s time to load the adhesive into the caulking gun. Cut the tip of the adhesive tube at a 45-degree angle, making sure to cut the opening small enough to control the flow of adhesive.
Step 3: Apply The Adhesive
Now it’s time to apply the adhesive. Using the loaded caulking gun, apply small dots and dabs of adhesive onto the back of the plasterboard. The adhesive should be applied in a zig-zag pattern, covering the entire back of the board.
Make sure to pay special attention to the corners and edges of the board, as these areas require extra adhesive to ensure a secure bond. Use a trowel or scraper to spread the adhesive evenly across the back of the board, making sure that the surface is covered.
Step 4: Position The Board

Once the board has been covered in adhesive, it’s time to position it on the wall. Hold the board up to the wall, making sure to align it with your markings, and gently press it into place. Use a spirit level to ensure that the board is straight and even.
Step 5: Secure The Board

Finally, it’s time to secure the board in place. Use a series of screws to attach the board to the wall, starting at the corners and working your way towards the centre. Be sure to space the screws evenly, making sure that they don’t protrude through the surface of the board.
Step 6: Finish The Job
To finish the job, use a scraper or trowel to remove any excess adhesive that may have squeezed out around the edges of the board. Use a bucket of water and sponge to clean off any remaining adhesive residue.
Dos And Don’Ts Of Applying Adhesive For Dot N Dab Plasterboarding:

Now that you know how to apply adhesive for dot n dab plasterboarding, it’s time to go over some of the dos and don’ts to ensure a successful installation.
Do:

– use a water-based adhesive for easy clean-up
– apply adhesive in a zig-zag pattern, covering the entire back of the board
– pay special attention to the corners and edges of the board
– use a spirit level to ensure that the board is straight and even
– space screws evenly and make sure that they don’t protrude through the surface of the board
Don’T:
– use too much adhesive, as this can cause the board to warp or become uneven
– place screws too close to the edges or corners, as this can cause the board to crack
– rush the installation process, as this can lead to errors and mistakes
– forget to remove excess adhesive immediately after installation, as this can damage the surface of the board
Expert Tips For Applying Adhesive On Dot N Dab Plasterboarding:
If you’re looking to take your adhesive application skills to the next level, here are some expert tips to help you master the art of dot n dab plasterboarding:
– use a trowel or scraper to spread the adhesive evenly across the back of the board
– apply adhesive in small batches to prevent it from drying out too quickly
– mix adhesive thoroughly before loading it into the caulking gun
– use a damp sponge to smooth out any lumps or bumps in the adhesive
– allow the adhesive to set for at least 24 hours before continuing with the installation process
Maximising The Efficacy Of Adhesive On Dot N Dab Plasterboarding:
To get the most out of your adhesive and ensure a successful installation, here are some best practices to follow:
– use a high-quality adhesive that’s specifically designed for dot n dab plasterboarding
– make sure that the wall is clean and free of debris before applying adhesive
– store adhesive in a cool, dry place to prevent it from drying out or becoming contaminated
– don’t skimp on the adhesive – use enough to ensure a secure bond
– use a spirit level to ensure that the board is straight and even before securing it in place
Insider Secrets To Applying Adhesive Like A Pro On Dot N Dab Plasterboarding:
If you want to take your adhesive application skills to the next level, then it’s time to embrace some insider secrets:
– use a longer nozzle on your caulking gun to get into hard-to-reach areas
– apply adhesive in a circular motion rather than a zig-zag pattern to ensure an even spread
– use a small brush to smooth out any lumps or bumps in the adhesive before it dries
– practice makes perfect – don’t be afraid to experiment with different techniques to find what works best for you.
:
Applying adhesive for dot n dab plasterboarding is an essential step in ensuring a successful installation. By following the steps outlined in this comprehensive guide, you can ensure that your plasterboard is secure, even, and long-lasting. Remember to follow best practices, don’t rush the installation process, and use high-quality adhesive to get the best possible results. With a little practice, you’ll be applying adhesive like a pro in no time!


